The following list of process steps provides a glimpse into a method of producing book cover paintings and various other types of commissioned illustration. This process has evolved over the years and is subject to change from project to project as the work dictates.
STEP 1 - ADVERTISING
The most difficult step in creating a book cover is securing the commission in the first place.
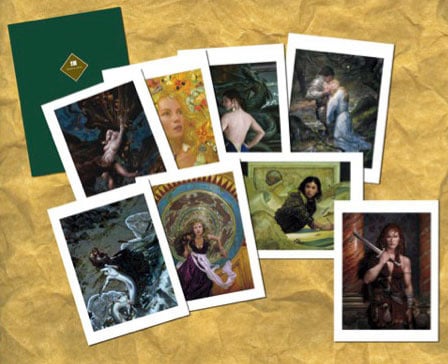
There are various ways to draw the attention of an art director or editor at a publishing house: these include having an online portfolio of work, advertising in trade annuals, securing a representative/agent, entering juried competitions, exhibiting original art in shows and conventions, meeting the art buyers at openings, and professional word of mouth recommendations. The samples you see here are advertisements I produced to remind art directors of my style and availability.
The most important and successful way to advertise is to consistently produce high quality work and meet the demands of the client, whether it be for old or new accounts.
STEP 2 - MANUSCRIPT
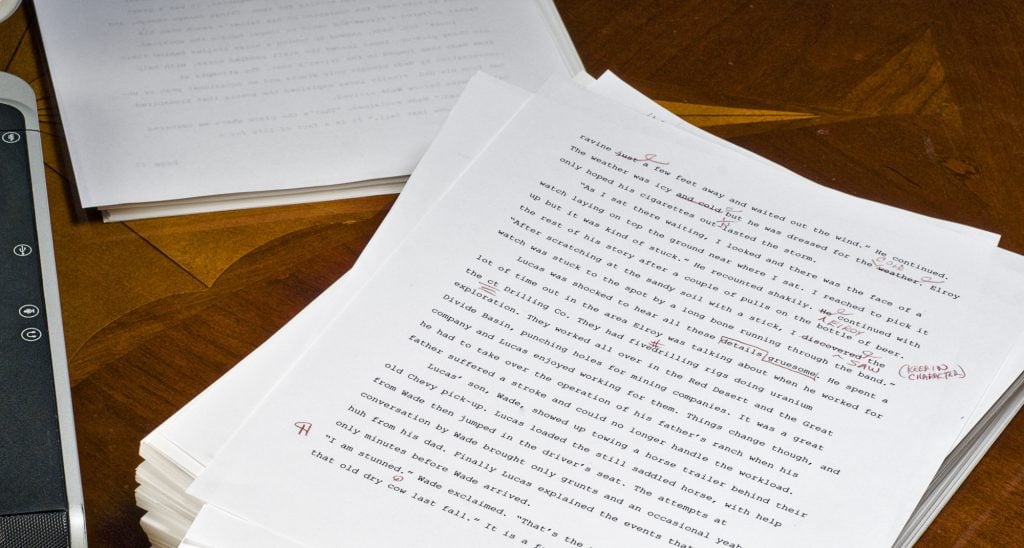
After receiving the initial call from a client, due dates and fees are negotiated for preliminary sketches, color studies, and finished art. A short description of possible cover concepts is given to the artist and in some cases the entire manuscript as well.
I read through the manuscript circling and selecting passages of character descriptions and potential cover designs. The time allotted for completion of each painting varies from one week to three months with factors such as sales conferences and marketing deadlines dictating the final delivery date.
STEP 3 - ABSTRACT ROUGH SKETCHES
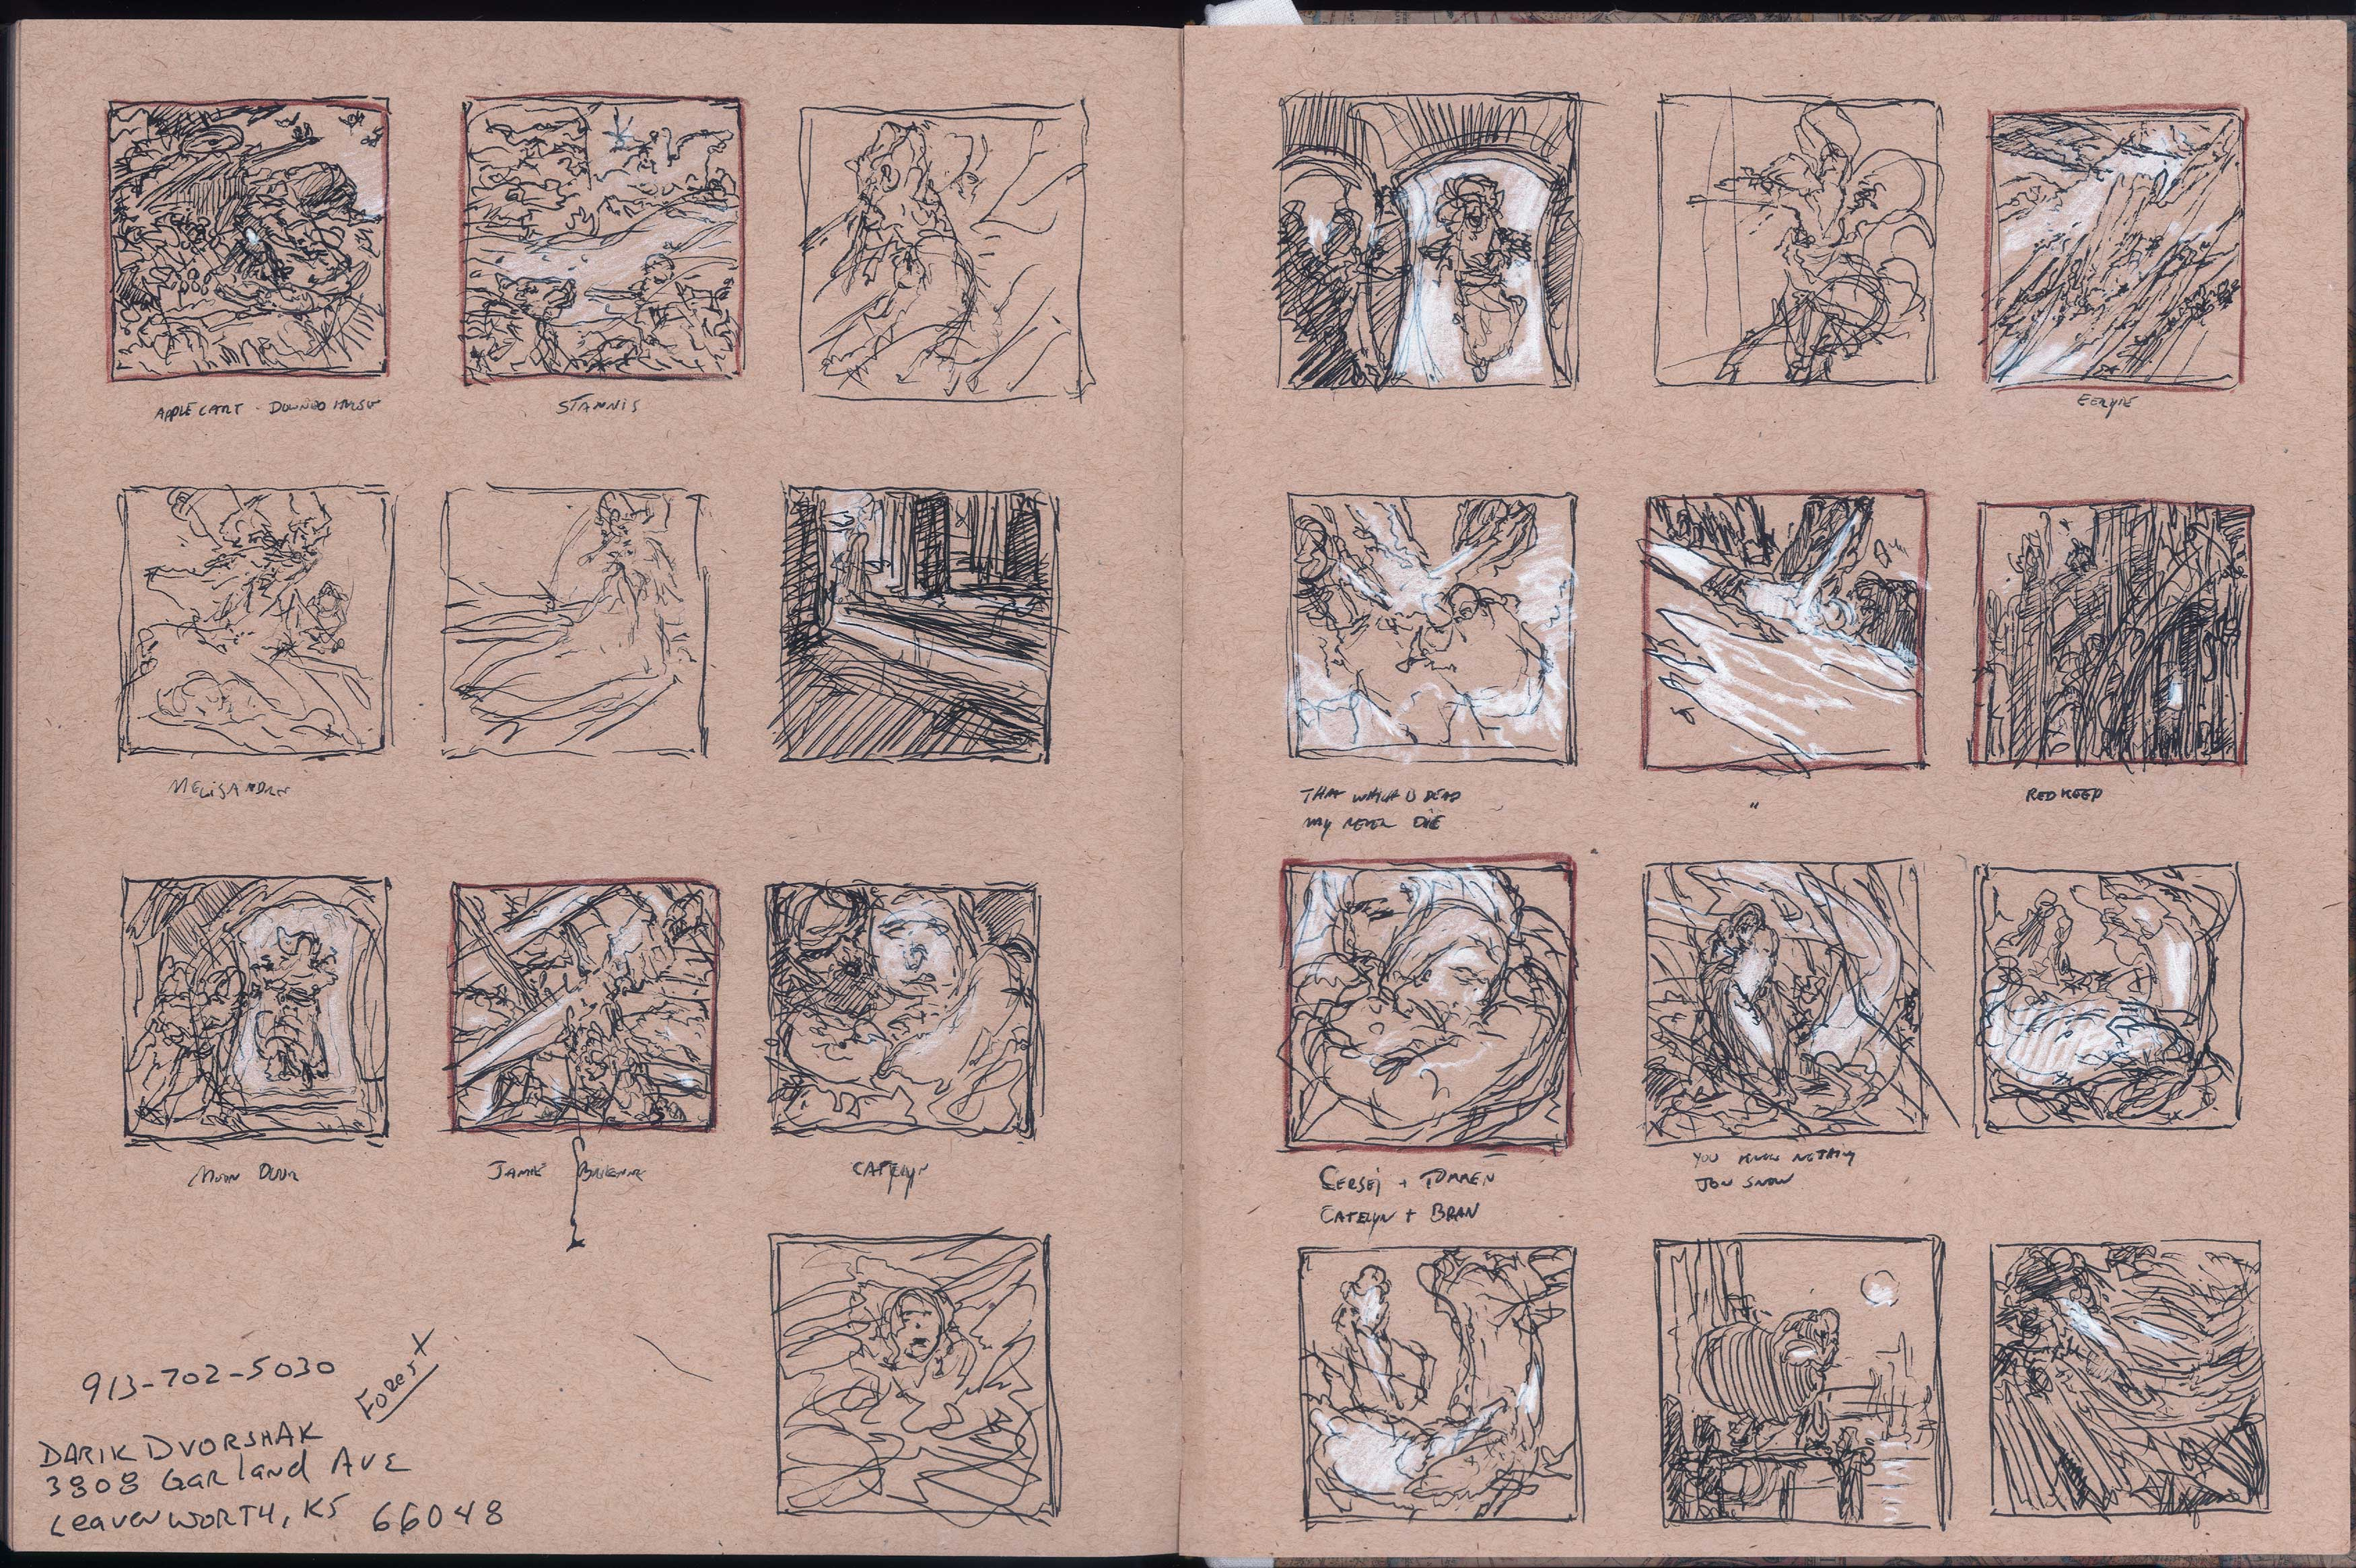
While reading the manuscript or treatment I generate small value and vector orientated abstracts. These small sketches allow me to see how different cover ideas may function on a very basic level: strong silhouettes, harsh lighting, scale relationships, diagonal actions.
I can produce as many as a dozen or as few as two. It is difficult to describe what I am seeking visually, but I usually find at least two to three of these abstracts worthy of producing final drawings from.
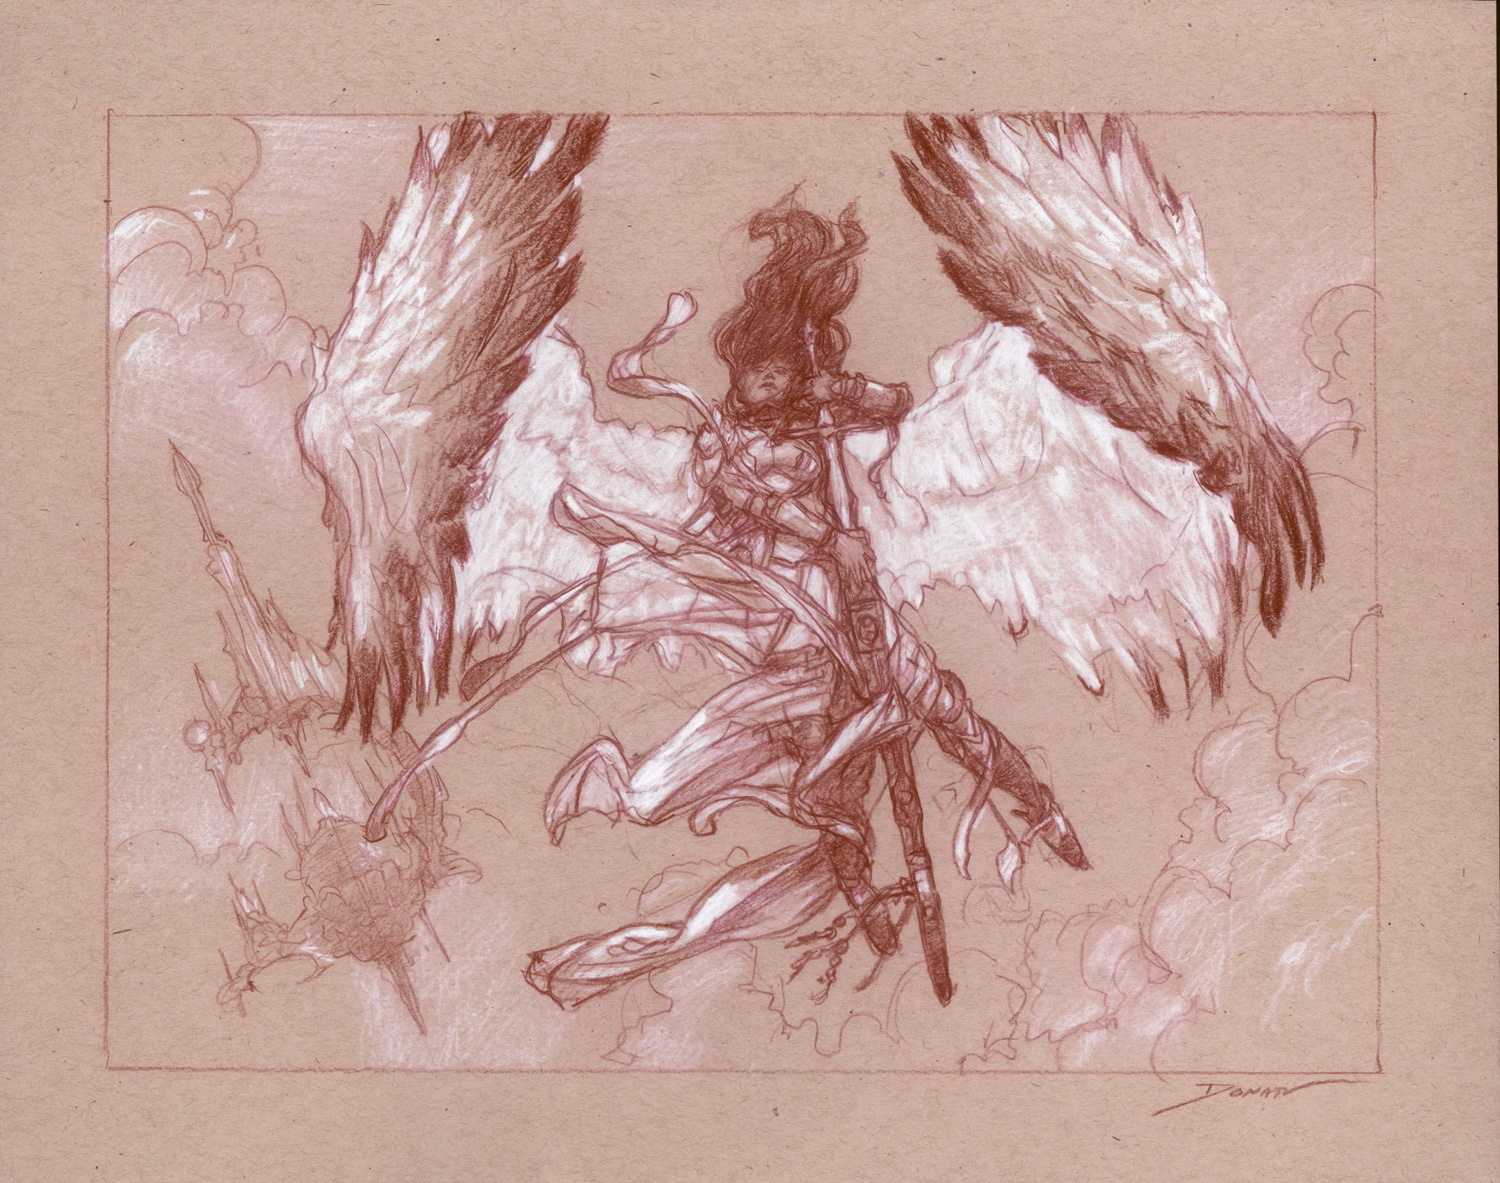
STEP 4 - FINISHED ROUGH DRAWINGS
From the abstracts, I produce two to three comprehensive and detailed drawings to present to the art directors. These compositions are guided by the small abstracts and built up still relying mostly upon my imagination. My intent here is to clarify the concept, major elements, and possibility some details to the client (and myself!) so that i have a better understanding what this image could evolve into. Many times revisions and new concepts are requested until a single composition is arrived at that will be used as the basis for the cover.
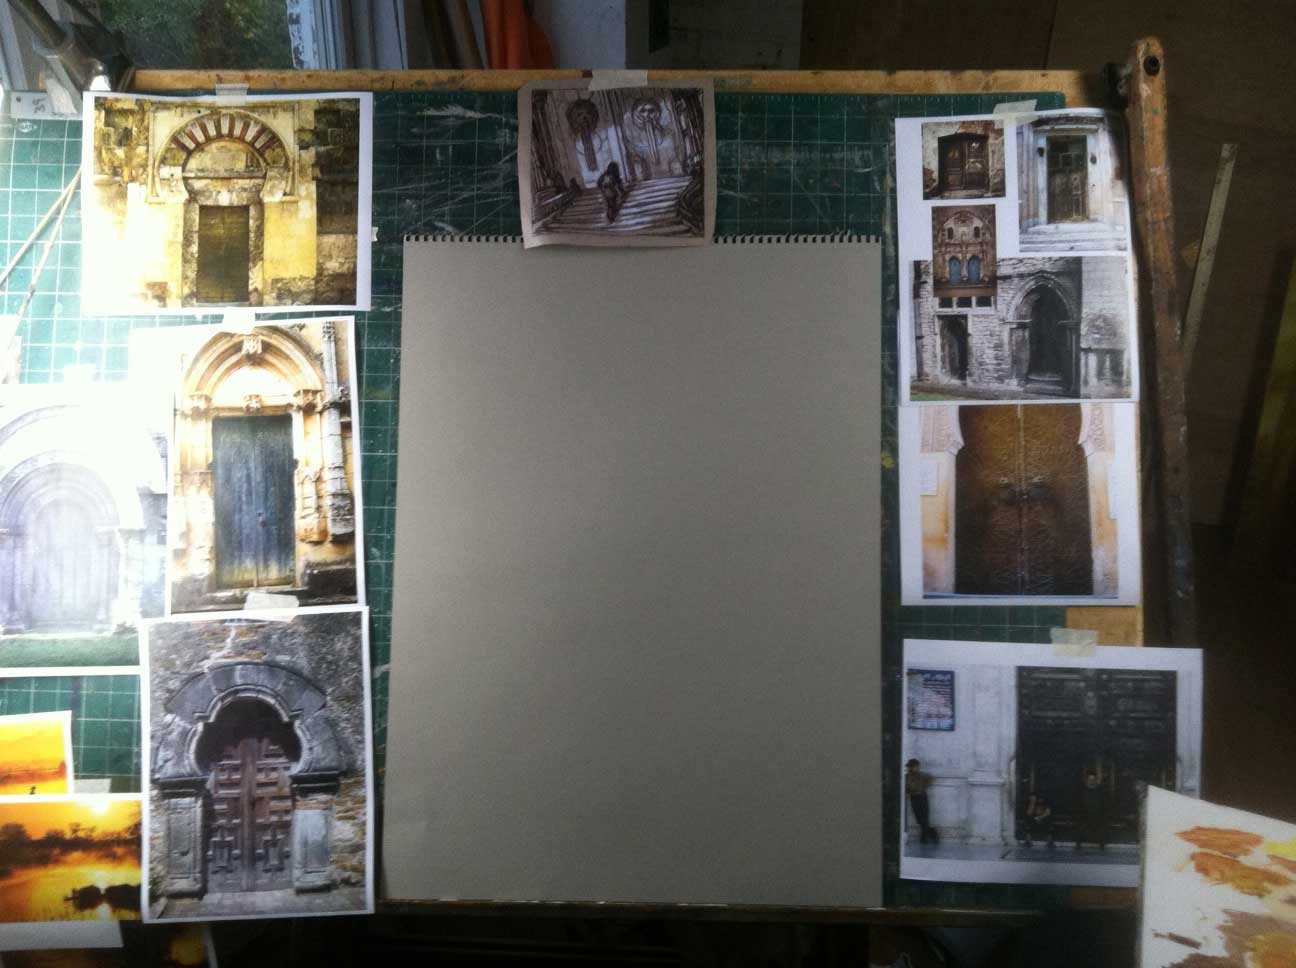
STEP 5 - REFERENCE
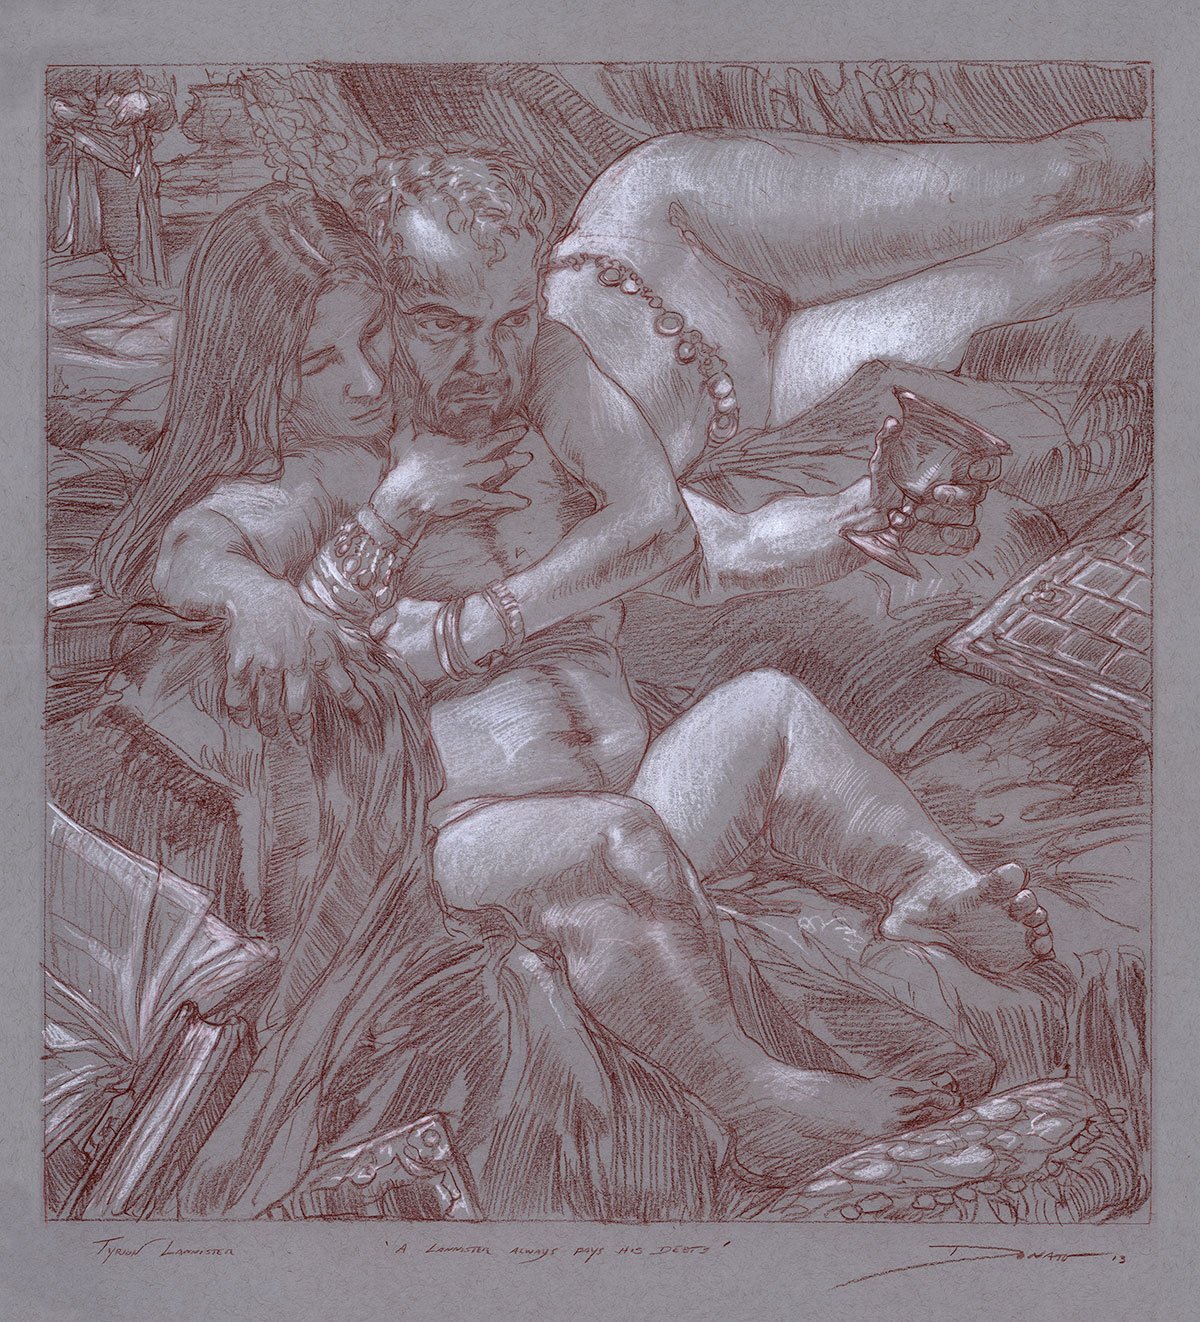
STEP 6 - FULL SIZE CARTOON
With all the reference material gathered around my drafting table and the final rough composition nearby as a guide, I then create a graphite/pencil cartoon for the painting. A cartoon in this context is typically a large monochromatic drawing produced at a one-to-one ratio to the final painting (a preparatory step I learned from Medieval and Renaissance artists, like Hans Memling and Michelangelo).
I begin by sketching in vectors and volumes of shapes, and progress by adding details from the photographs and observations I have made. The small abstract and larger rough drawing are my guides here, providing the basis for the composition and design in the drawing.
This is a stage which allows quick experimentation in "grays" and abstract vector placement to determine lighting, values, scale, and composition. Playing around in pencil at this level saves me from hours of corrections that could occur in the final painting.
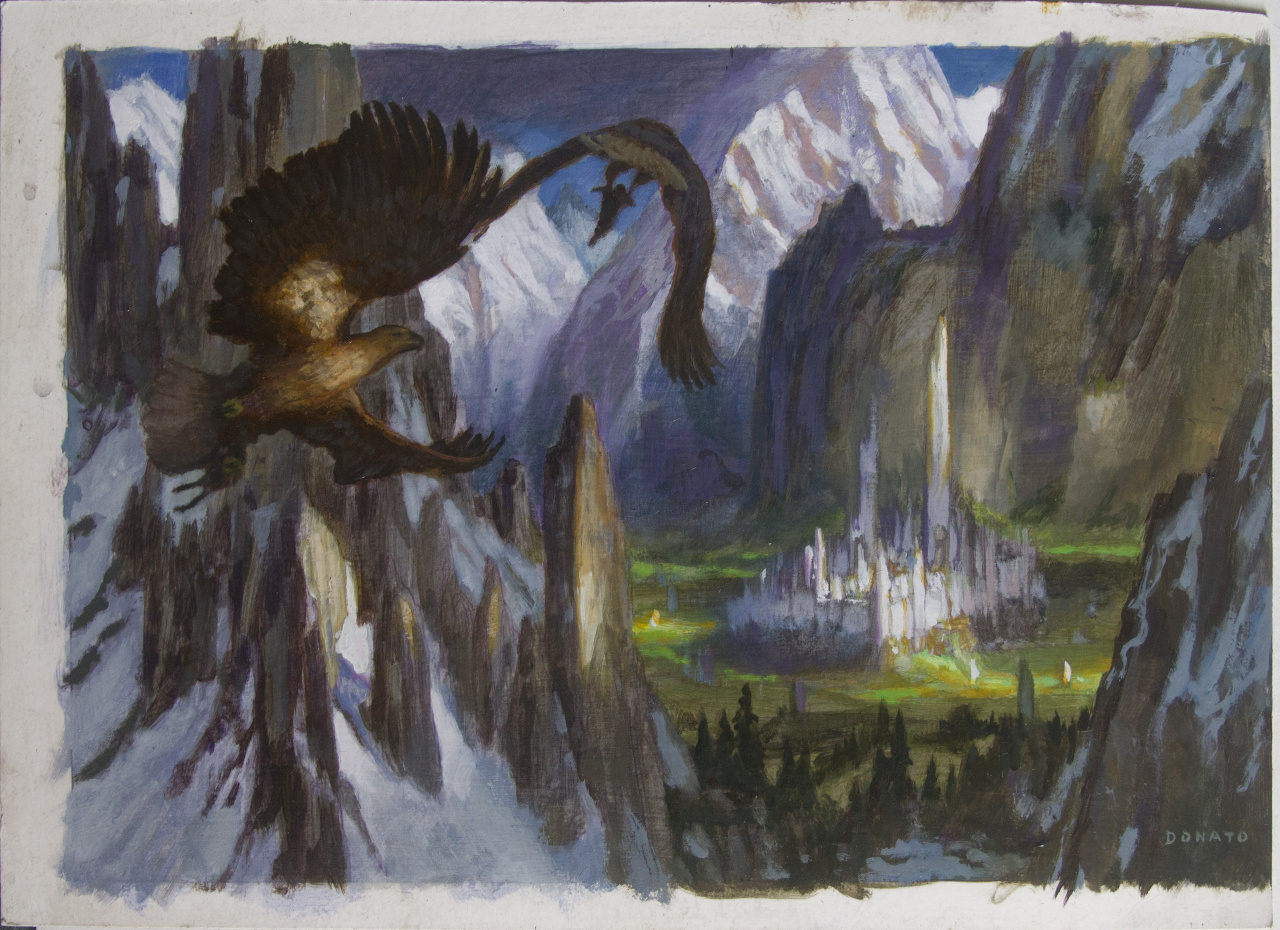
STEP 7 - COLOR STUDY
STEP 8 - FINAL PAINTING
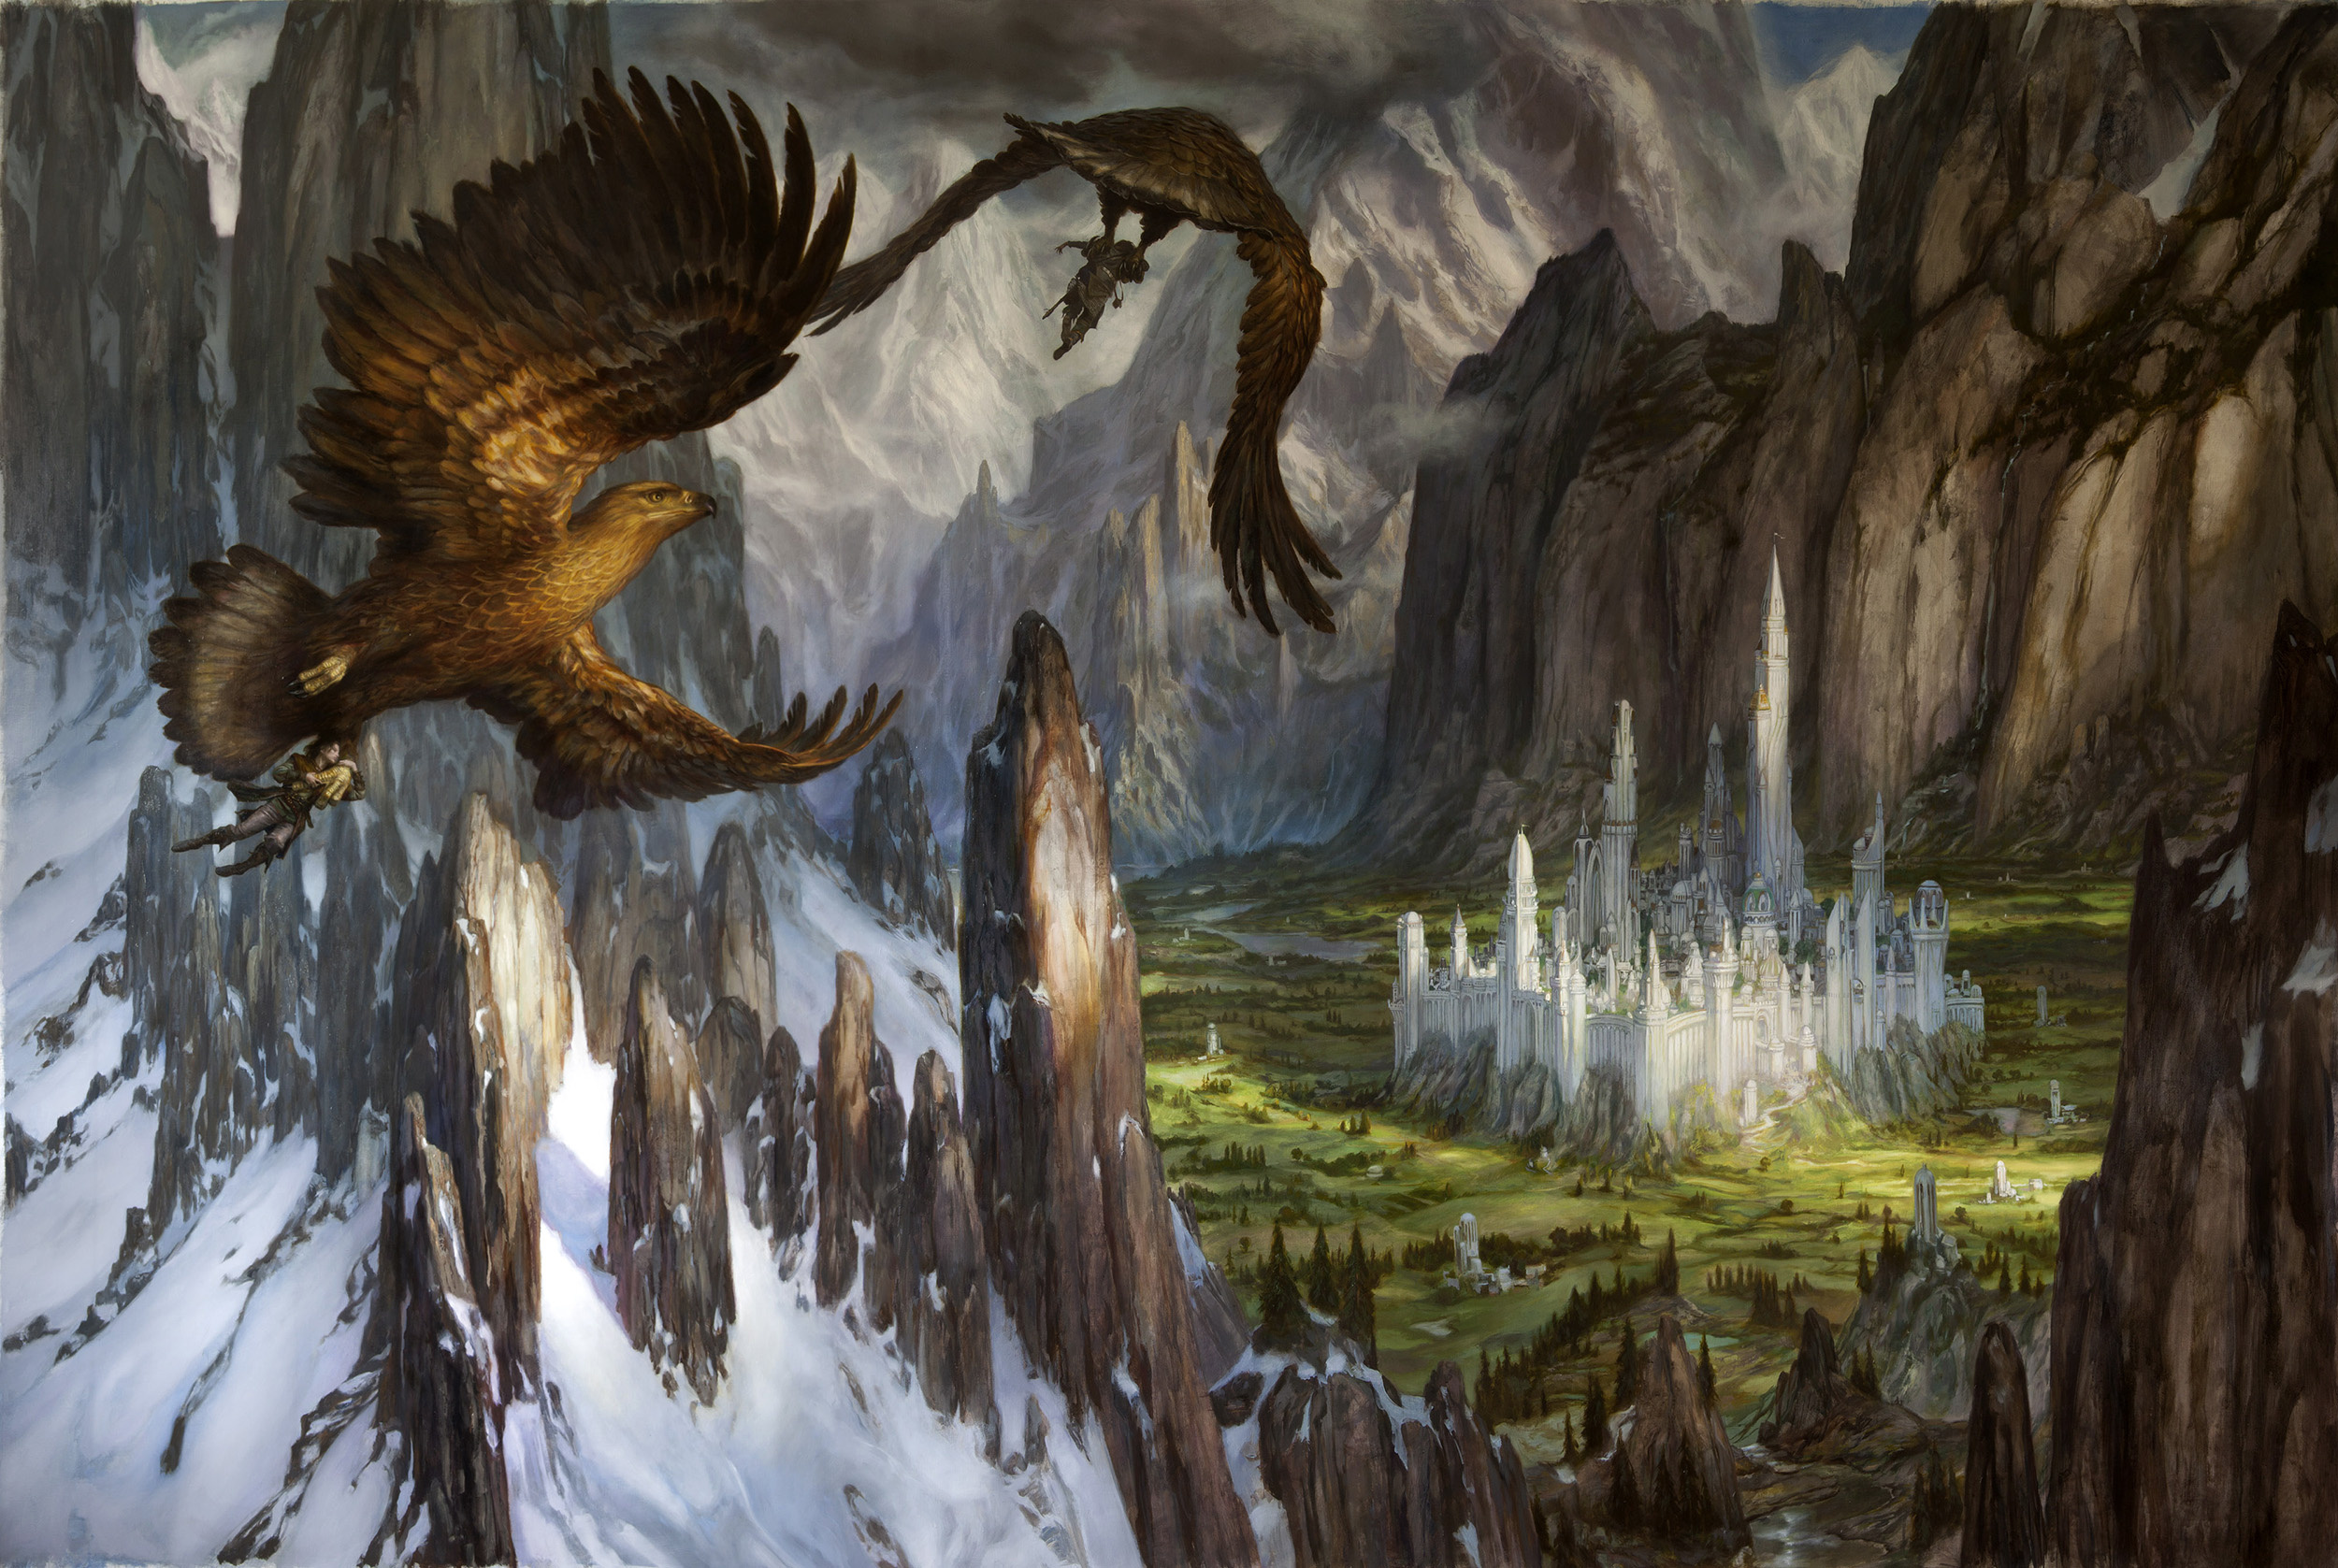
From the cartoon another copy is created onto 100% acid-free cotton paper from an oversized copy machine. This copy is then mounted onto panel and protectively coated with acrylic medium - I save the original drawing. I then tint the image in acrylics to remove any traces of white and begin work in oil paint and glazing medium. I use the color study as a guide and follow the shapes and structures created in pencil, making oil painting resemble somewhat a "paint by number" exercise!
Oil painting is a very time consuming process and I am constantly referring back to the reference material I have gathered to include in this one painting. I invariably make changes from the original plan as the painting develops its own visual language and speaks back to me. Being flexible through this stage helps to keep the process fresh and intense all the way to the final coat of varnish.
